A couple of weeks ago I wrote an article on how to improve your travel photography. Tips like becoming familiar with your equipment, getting close instead of excessively using the zoom and a little trick for the street photographers out there. Since it was well received, I decided to add a few more points to this list which will hopefully help to improve your skills and to bring better pictures back home.
Get up early
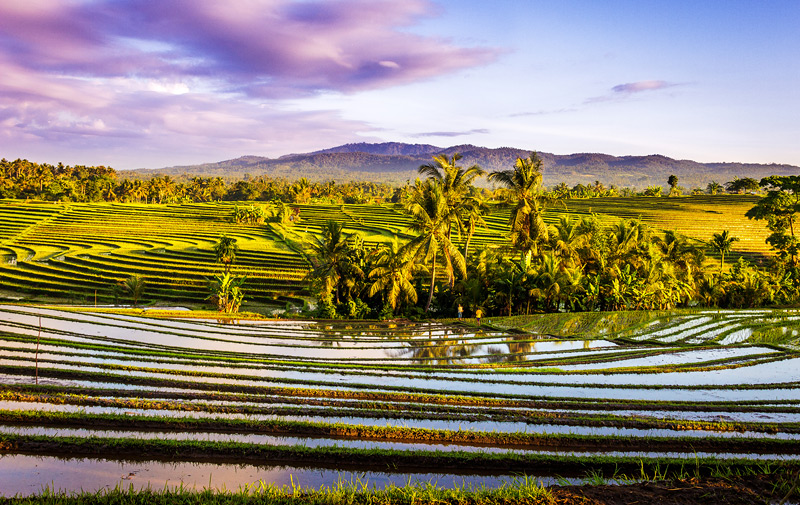
Travel photography is not a 9 to 5 business. As I have already pointed out in my last post, the best light for almost any photograph are the golden hours, one hour after sunrise and one hour before sunset. And especially sunrise offers magnificent photo opportunities. The light is soft, the sky gradually changing from dark blue to a warming purple hue and the locals just starting their day. Especially when you are traveling in a group, these early hours, when everybody else is still asleep, will give you the freedom to take your time shooting. You don’t have to be considerate of the others. And as renowned photographer Timothy Allen said, „One amazing image shot in fantastic light is worth a hundred OK frames shot in the harsh light of a sunny day.“
Be different
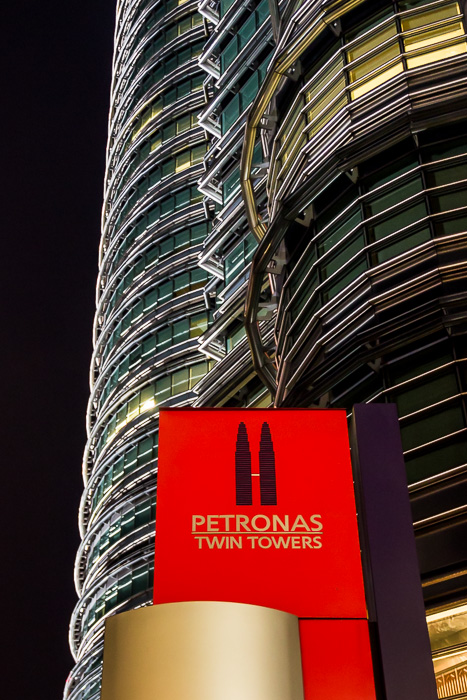
If we think of those world famous iconic places like the Eiffel Tower, the Taj Mahal or the Petronas Towers, we all have a certain image in mind; even if we haven’t been there yet. That is because we have seen the same pictures countless times already. I would by no means advise anyone not to see these iconic places. To the contrary, they are totally worth it and visiting them belongs to a journey just as trying local foods and venturing to off the beaten track places. But try to not only come home with the same postcard type of images that everyone else takes. You can go ahead and take a couple of these shots but get them out of the way first. Then take some time to get creative. Think of new and innovative ways to feature these places, experiment and try different things. Sky is the limit here. I nowadays still see images of the Eiffel Tower which amaze me because they are different and give it a unique twist.
Do your research
As much as I like being spontaneous and staying flexible, doing some research on your destination will help you a lot and save you precious time. Research about the country, its history, its culture and its landscapes. Find out if there any festivals or regular markets taking place during your stay. The place might feature interesting architecture or monuments that would make for a good image. Then find out about the work of other photographers. It will give you a good first impression of what has been done before and which places will make for great photo opportunities. However, I am not saying to copy these images. Instead use them as inspiration for getting new ideas and try to come up with different images – your own images.
Get to know your destination first
You have done your research and you finally arrived at your destination. You feel like instantly getting out there to shoot. Resist this urge for a bit. There is no need to pull your camera out of the bag the moment you arrive. Leave your camera in your room and take a bit of time get familiar with your surroundings. Wander around with open eyes and see what’s there. Understand if there are any interesting places around your hostel, take in the atmosphere, go with the flow and let your surroundings inspire you. Remember, your pictures should reflect your very own experiences and for this you will need some time to see and feel your destination.
Get off the beaten track
The touristic hubs are usually far from the country’s reality. At the same time getting off the beaten track is usually not so difficult. Sometimes it just takes 15 minutes to find yourself in a small local village, being the only foreigner around. This is where you want to be as a photographer. You will meet real people who aren’t out to sell you things. You will have more chances to interact, to practice your newly acquired language skills and take more authentic photographs. At the same time it will make for a much better travel experience than sticking to the well trodden path.
Think first!
The advance of digital photography has made clicking away a common practice among fellow photographers. But excessive shooting will not only teach you bad habits but also make you miss out on the enjoyment traveling comes with. Imagine how it was back in the days when photographers had a roll of film with only 24 or 36 pictures. Every shot was valuable, every shot had to be well thought out. Try to adopt this mindset and put a bit more time and thinking into your photographs. Stay calm, think about the light, about what you want to emphasize, the composition and about the background. Take a deep breath and try a couple of shots, maybe switch angles and try different things. There is no need to rush. A rushed photo is usually never a good one. Quality over quantity is the motto here.
Say no to flash
Henri Cartier Bresson, the father of photojournalism and one of the most influential photographers of all time, never used flash in his photography. He considered flash as “impolite…like going to a concert with a pistol in your hand.” You don’t need flash and the on camera flash will hardly ever give pleasing results anyways. You can do so much with natural light. Make the most of what you have, understand light and master your camera. Learn about the exposure triangle of ISO, Aperture and Shutter Speed. This already will greatly improve your photography.
Last thoughts…
These are a few tips that will hopefully help some of you to become a better photographer. But the truth is that there are no real shortcuts. You will have to go out there and practice. It’s all about trial and error and your photographic experience. Just as life itself, photography is a long journey. A journey with ups and downs, with victories and disappointments and with moments of joy and moments of frustration. Work your way through those times of frustration, stay persistent and don’t forget to enjoy this exciting journey.
I hope you found this and the the first part of my photography tips useful. Let me know if you have other tips or if you have requests on related topics. Feel free to comment below. Philipp


very informative!
Hi Via, thanks a lot.
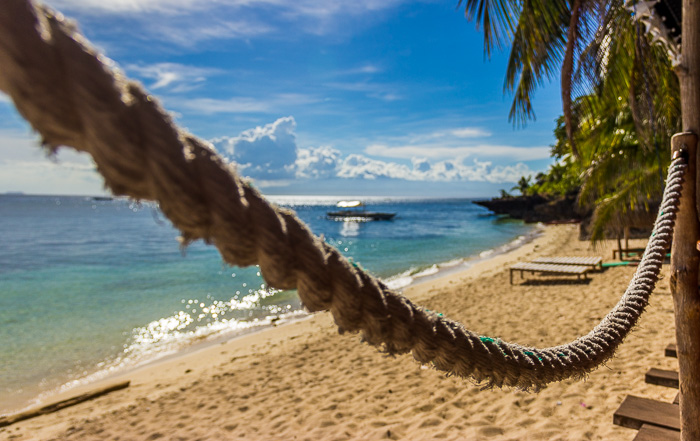
I like your shot of the beach in Siquijor.
Thanks Franz, it is sure a beautiful place,
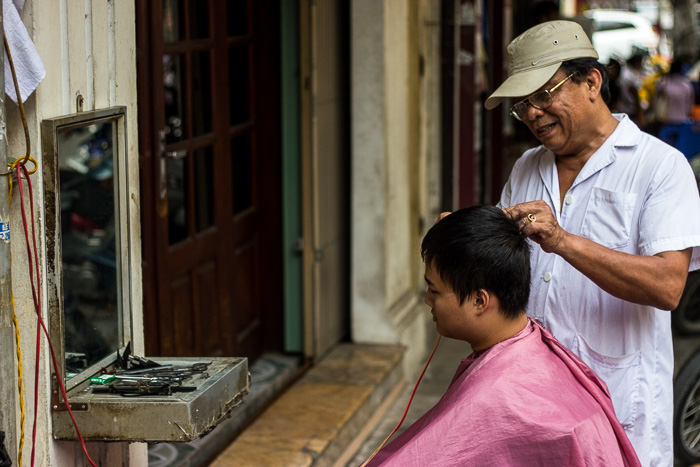
ISO, Aperture and Shutter Speed sounds familiar but it makes my nose bleed hahahah!since i only use my phone for taking pictures, i made sure i familiarized myself with my phones capability to get the best pictures. I am fascinated with sunset, so thats where i practice my Talent/frustration in photography. Love the pic in vietnam:)
Hi Berns, I know that Samsung phones let you actualy change things like ISO and aperture and for example White Balance. If your phone has these options, try to play with them. Because they are the same you will use on a regular DSLR camera. Keep trying and work your way through frustration. The key is to stay persistent…
Thanks for the article, i just found out Mr. T. Allen was a renowned photographer, hahahaha, I commented “artistically captured” in one of his post on twitter, not knowing he was THE TIMOTHY ALLEN. hahaha i feel so embarrassed :/ its just that, the pic was so beautiful, the simplicity of it makes it beautiful. Salamat ulit!:)
Which picture do you mean? He has an amazing portfolio I have to say. I admire his work a lot. Thanks again Berns for stopping by! Salamat.
hey thanks for the insights! 🙂 I am going to travel through SEA very soon and also really like photography. I have a few questions and would really appreciate if you could help me out:
1) How to you back up all your pictures (and videos)? Could you describe your process?
Do you have an external hard drive + card reader? Or do you back up the files to the cloud (dropbox)? if so, is the internet fast enough? or do you use the computers provided by the hostels or internet caffes? What if your bag gets stolen – are all pictures lost? Any tips?
2) Do you use any filters to protect the lens and/or enhance colors/ get rid of reflections? if yes, which one? (currently thinking of buying one, but dont know which one. any recommendations?)
3) Do you edit the pictures before you upload them on your blog? Or not? (to enhance colors, ect..) What program do you use?
4) What camera and lens do you use? and why?
Thank you so much and sry for all the questions. I really like your blog posts and the pictures!! Great work, congrats!!
Looking forward to your answer 🙂
Best, Bastian
Hi Bastian,
I will try to keep it short and precise and if you have more questions, drop me an e-mail. Works a bit better most of the time…
1. I have an external hard drive which I back to. I made sure to have pics on three devices at all times. External hard drive, the computer and either the SD Card or big USB sticks. Uploading to Dropbox won’t work since filesizes are to large and the interconnection usually too slow.
2. I use a polarizing filter every once in a while. Not too often though. I also had an ND-Filter which I hardly ever used but they can come in handy. I will be them again for my next trip. The polarizer is not a bad idea in my opinion and usually not so expensive either.
3. I edit every single picture since I shoot in RAW. RAW will require you to edit pictures as nothing is altered yet. I use Lightroom for 90% of the work, and sometime, but only if necessary, Photoshop.
4. Canon Eos 600D with 18-135mm and 50mm 1.8 – also by Canon. At that point is was the best combination in terms of price, weight and performance. My next camera will be full frame though with a different lens setup. This is a very difficult questions and the decision will depend on a lot of factors and your preferences.
Hope this helps to get a start. When will you start your trip and what’s your plan?